Call me a dumbass. No, really. It's OK.
Repeat after me: The Cap'n is a DUMB-ASS!

See; there was this Remmy Brasser for sale on Armslist, and......
Well, yeah. I bought it.
It wasn't free, but close enough. Anyway, the deal was this:
The guy was advertising it as "restored" (he does "gunsmithing", you see)-Warning #1
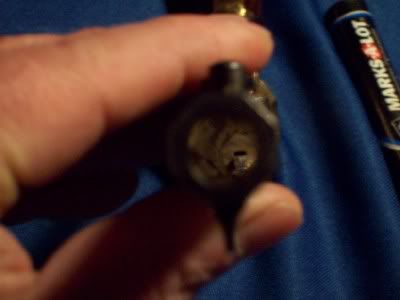
It was missing the cylinder. Too rusted to restore-Warning #2
The pictures were blurry-Warning #3
BUT......
I've been looking for a brasser to do a Kirst Konversion on. This one fit the bill, more or less.
I met the guy tonight in a dark parking lot after he got off work at the local Bass Pro. I looked it over under the dim light of halogens and saw it was all there but the cylinder, and greenbacks and gun exchanged owners.
What he told me next should have been Warning #4
He said the gun had gotten wet and wouldn't even turn when he got it. The cylinder was beyond repair.
That's OK, I'm looking for a donor for a Kirst Konversion, I told him.
Naturally I didn't bring a flashlight or bore light. I figured if the bore was bad, I could shorten it.
I may have to.
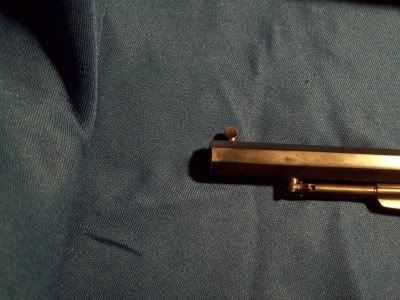
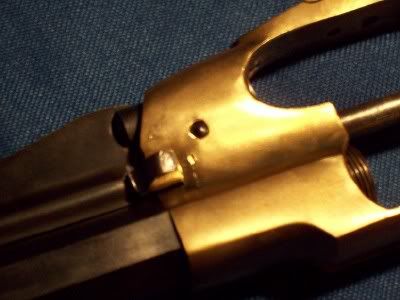
See, there is a blemish down the bore about halfway. Can it be polished out? We'll see. It may not even affect the accuracy that far down.
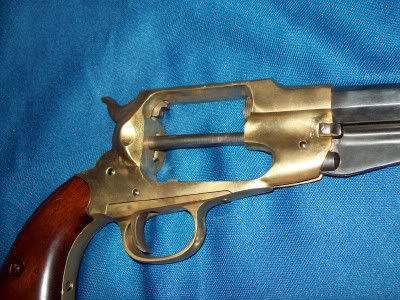
It looks like the brass and bluing were de-rusted via wire wheel, The bluing is polished through in some areas. The grips are scratched down to bare wood in spots. Overall, I'd say it's worth $25.00 as is; I paid a bit more.
But that's OK. I will have no qualms whatsoever as to chopping, cutting, grinding, polishing, etc. I may re-blue it. I might go polished steel. It's a ripe plum for the pickin'.
I took a bunch of pix, some with flash, others without to show the contrast.
So, here's my "pig-in-a-poke":
Left side shot:

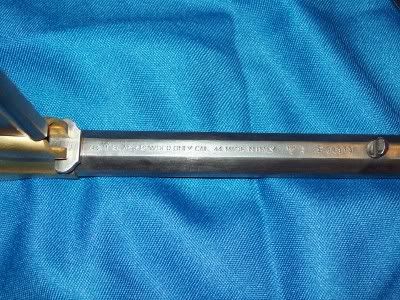
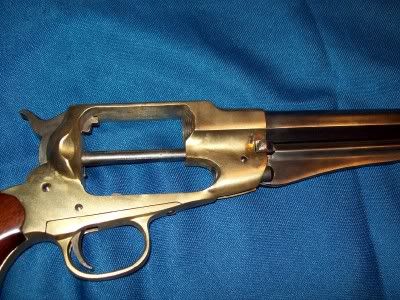
Frame:


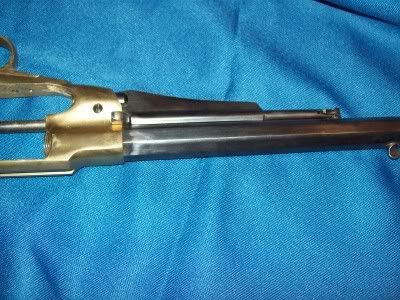


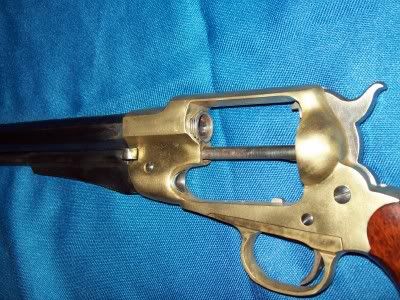
Barrel: